Creating a username and password for Jira Server
We need to create a user in Jira which will have access to all projects that need to integrate with GitLab.
As an example, we'll create a user named gitlab and add it to a new group
named gitlab-developers.
NOTE: Note It is important that the Jira user created for the integration is given 'write' access to your Jira projects. This is covered in the process below.
-
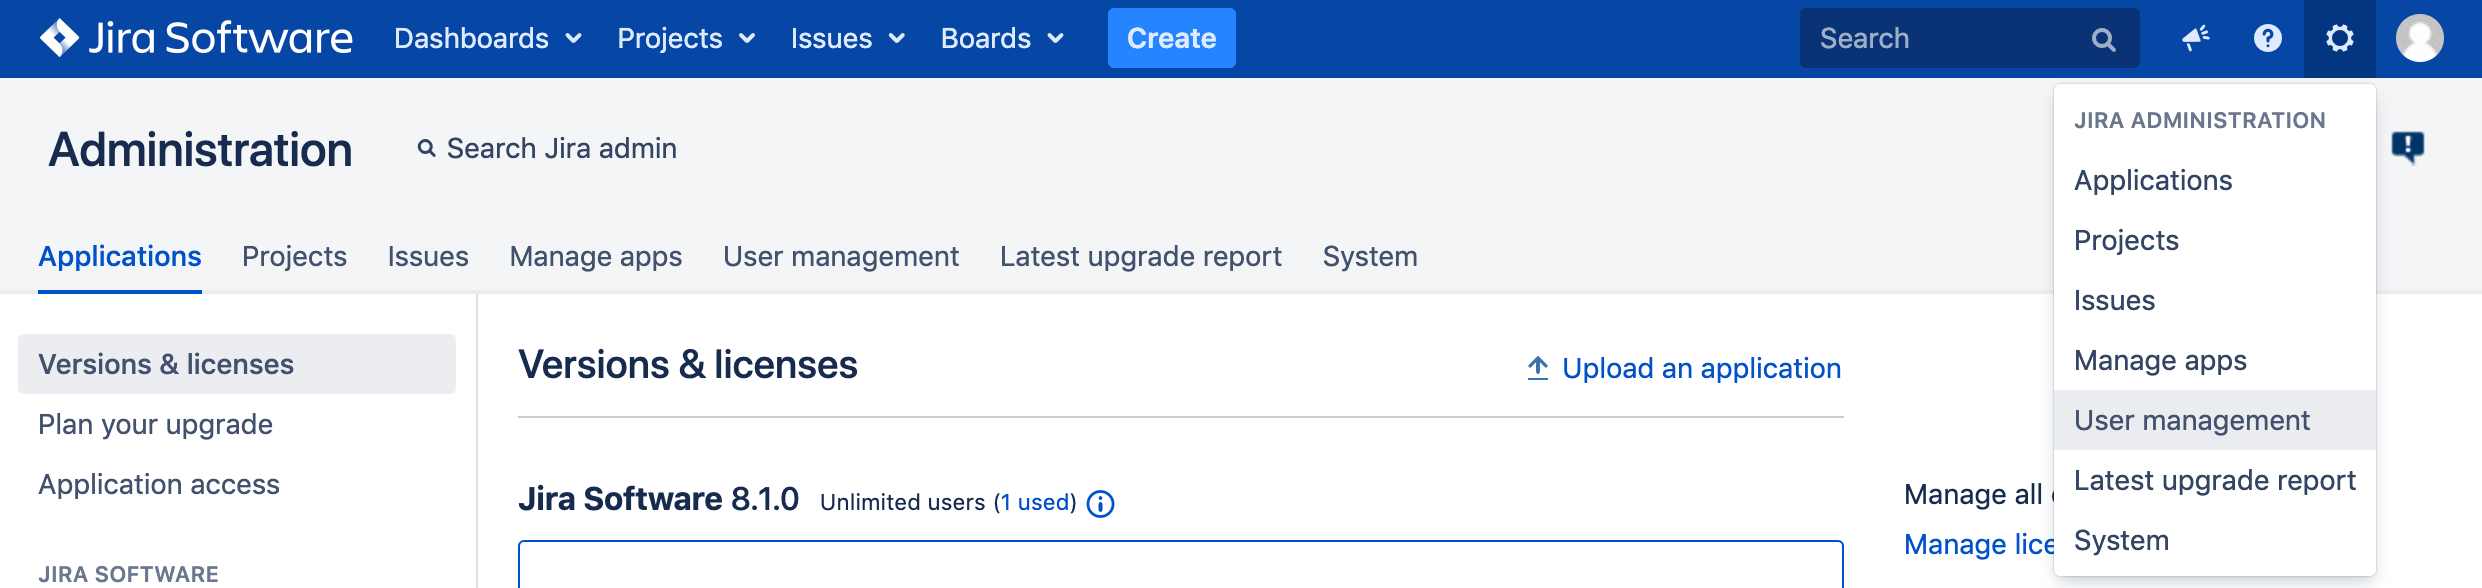
Log in to your Jira instance as an administrator and under Jira Administration go to User Management to create a new user.

-
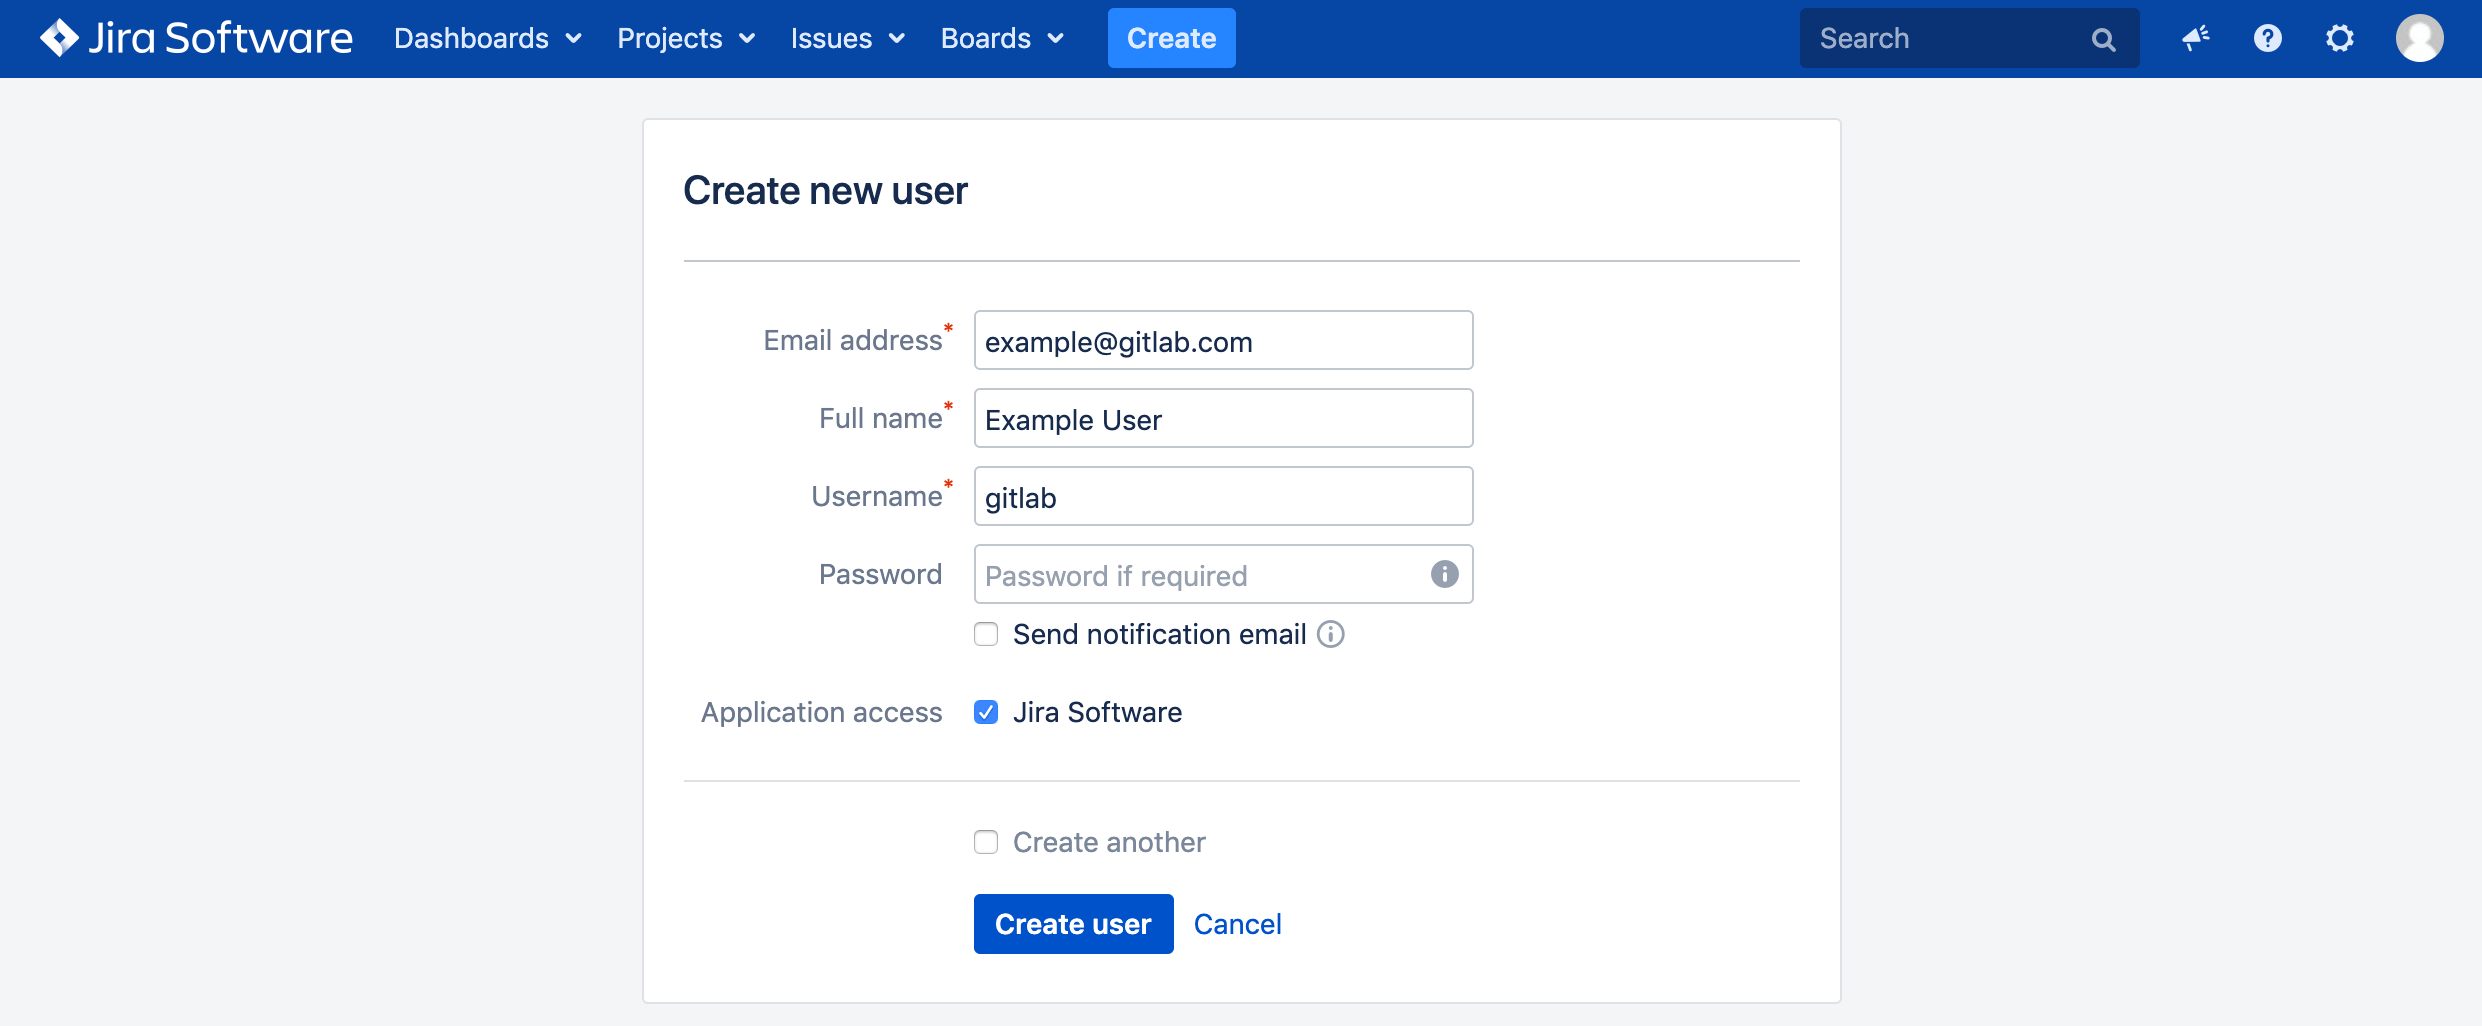
The next step is to create a new user (e.g.,
gitlab) who has write access to projects in Jira. Enter the user's name and a valid e-mail address since Jira sends a verification e-mail to set up the password. Note: Jira creates the username automatically by using the e-mail prefix. You can change it later, if needed. Our integration does not support SSO (such as SAML). You will need to create an HTTP basic authentication password. You can do this by visiting the user profile, looking up the username, and setting a password. -
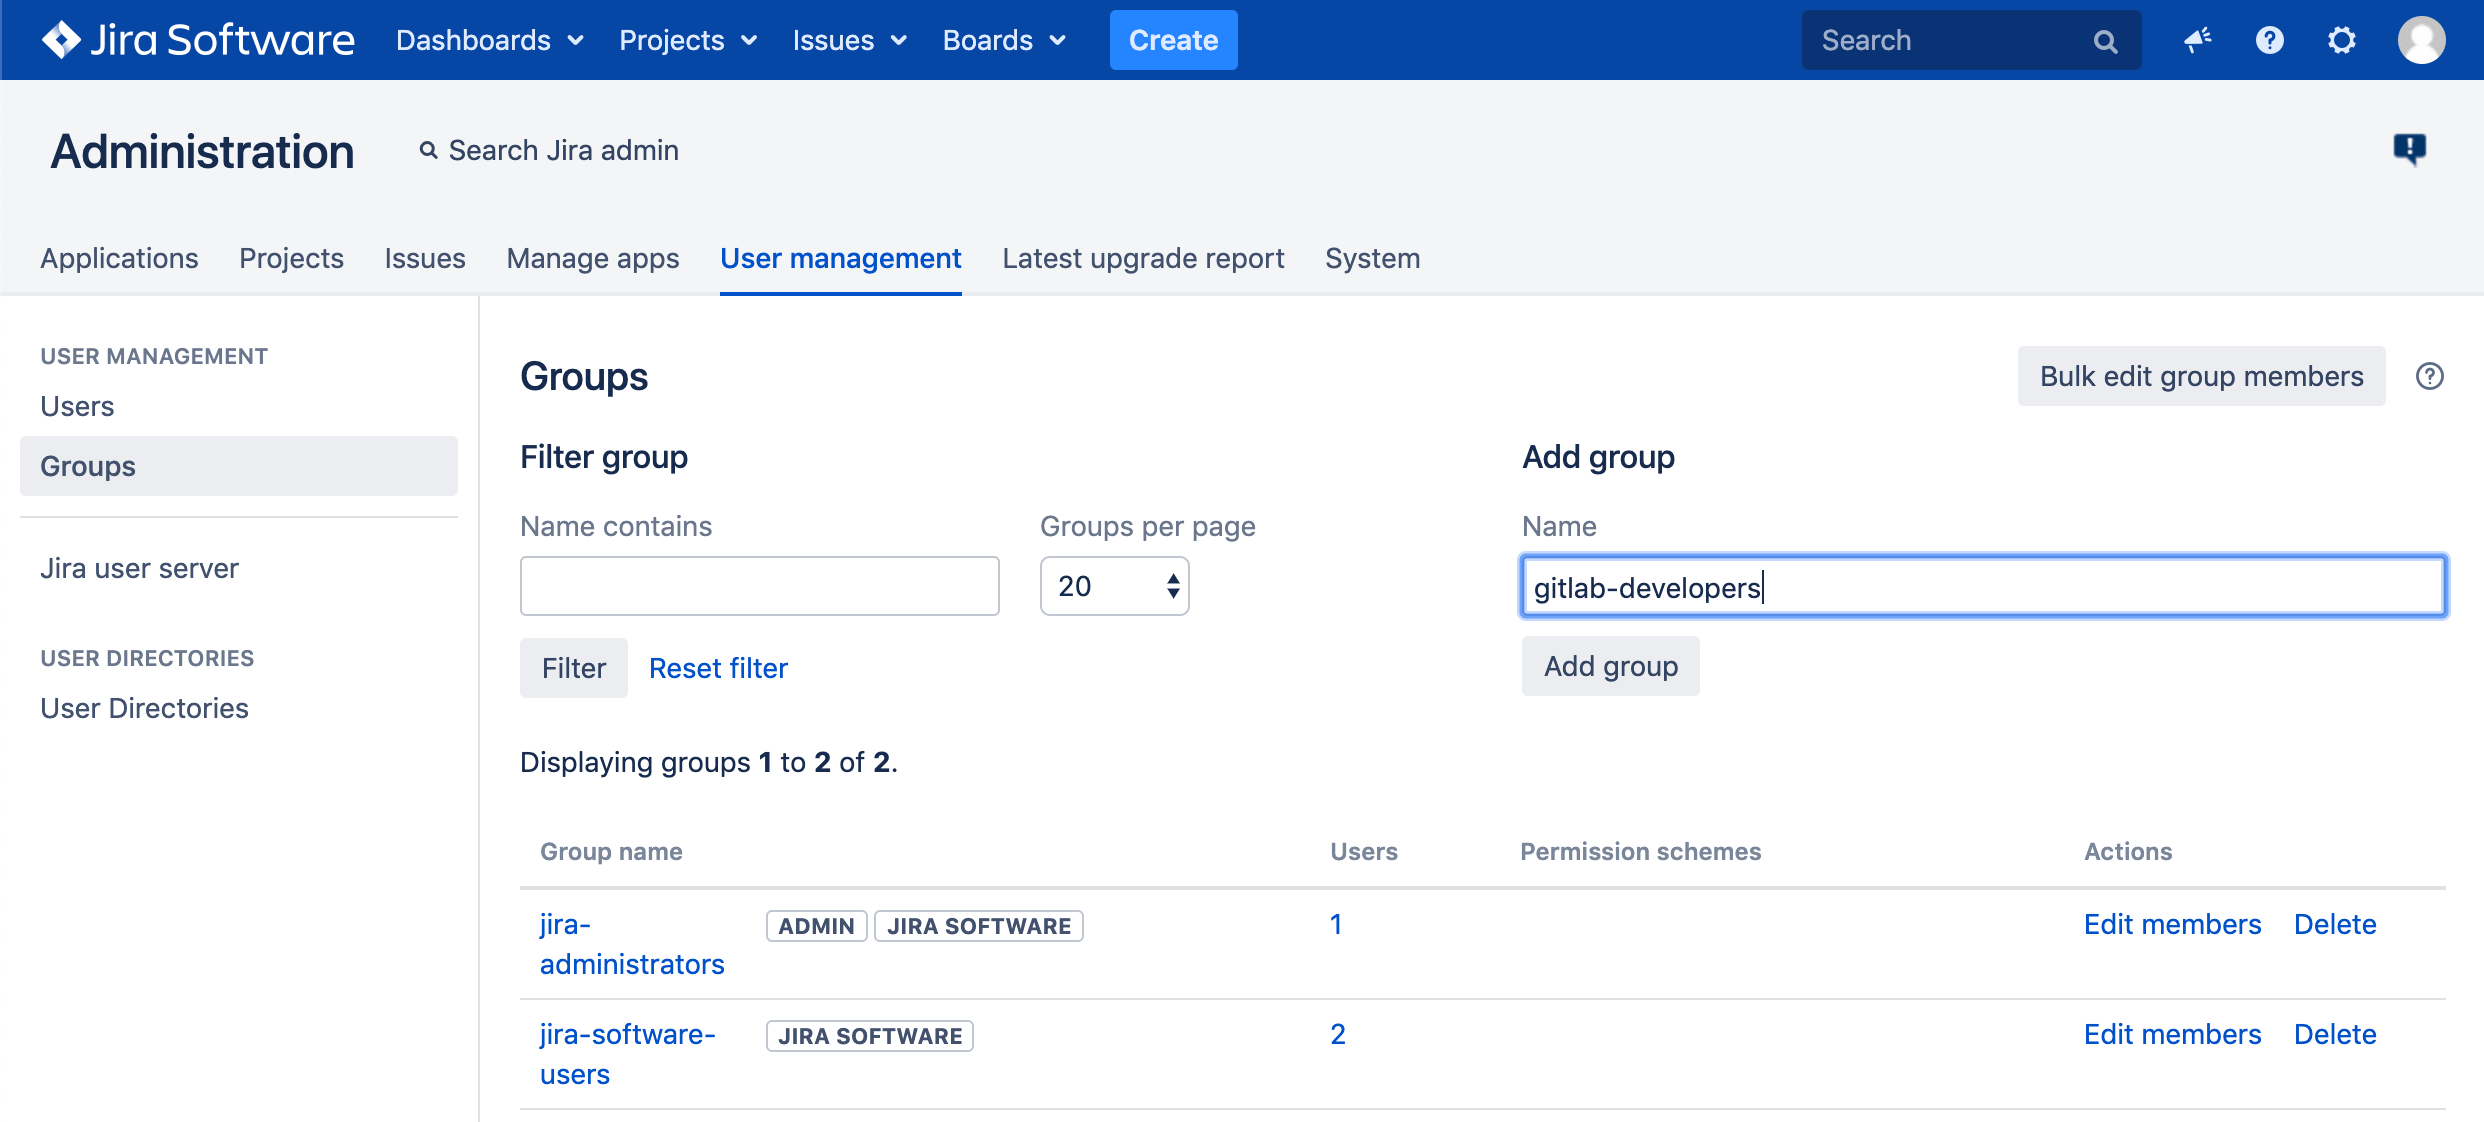
Create a
gitlab-developersgroup. (We will give this group write access to Jira projects in a later step). Go to the Groups tab on the left, and select Add group.Give it a name and click Add group.
-
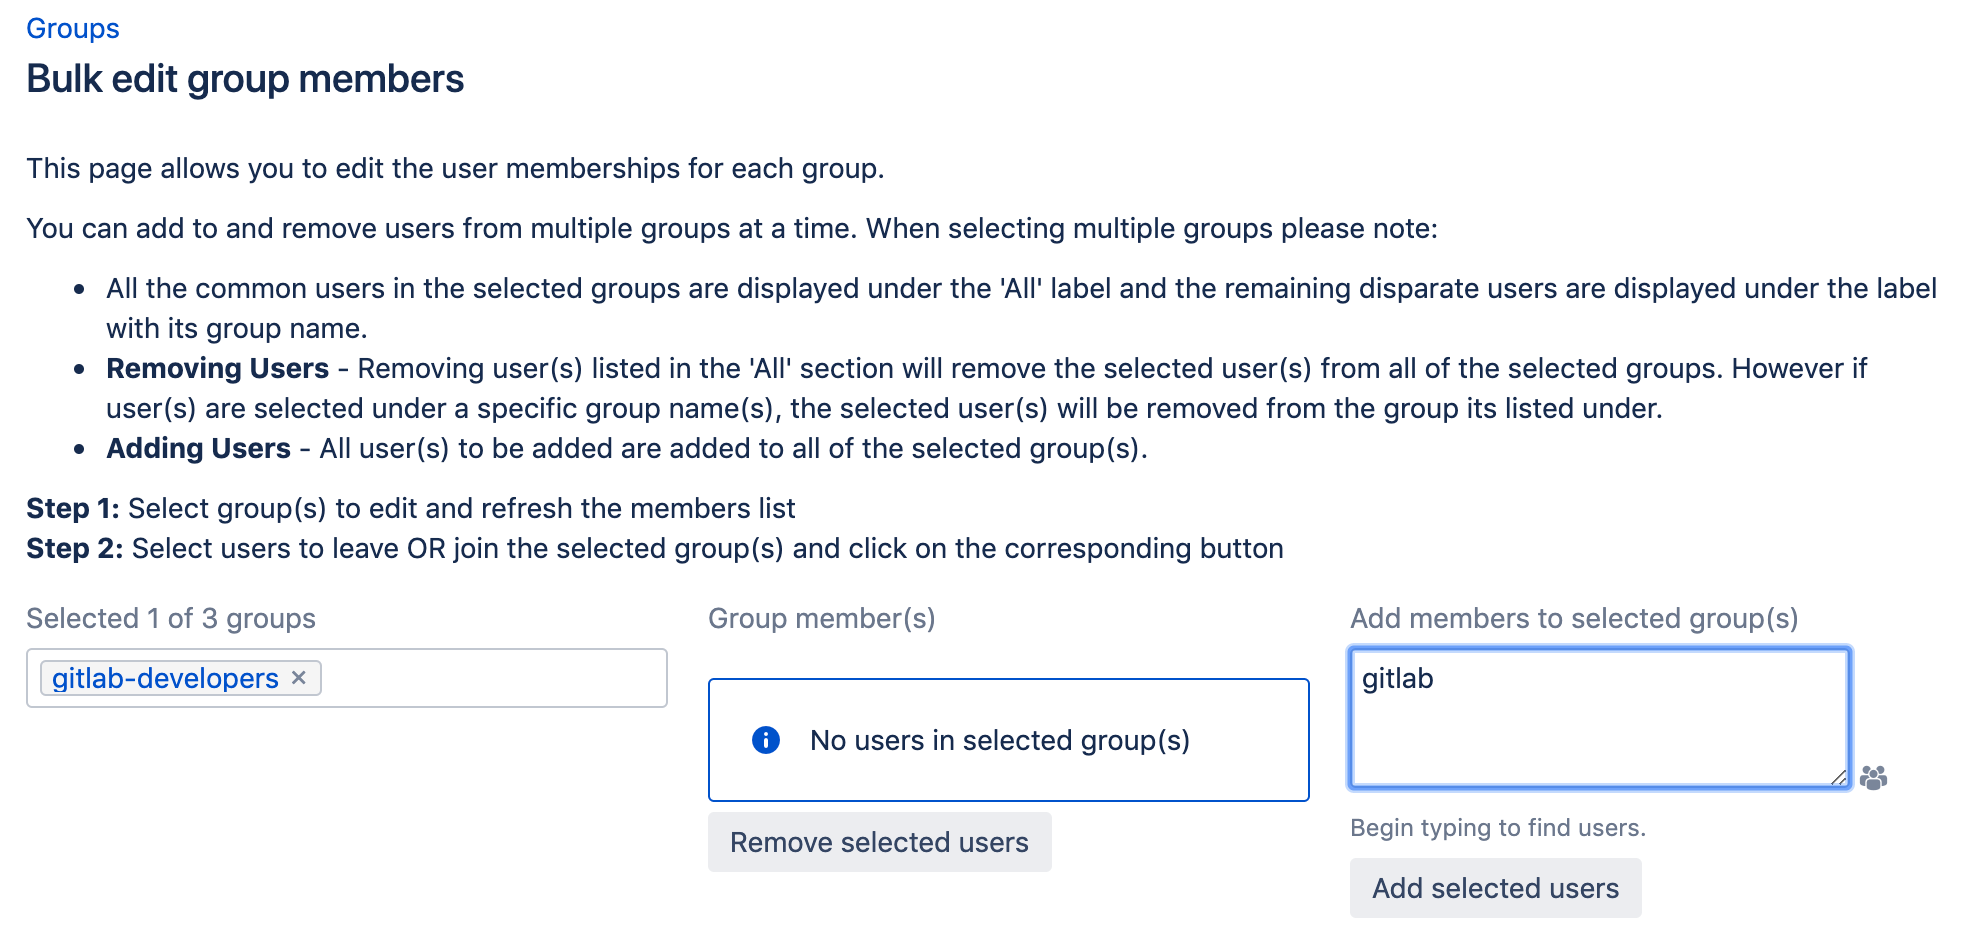
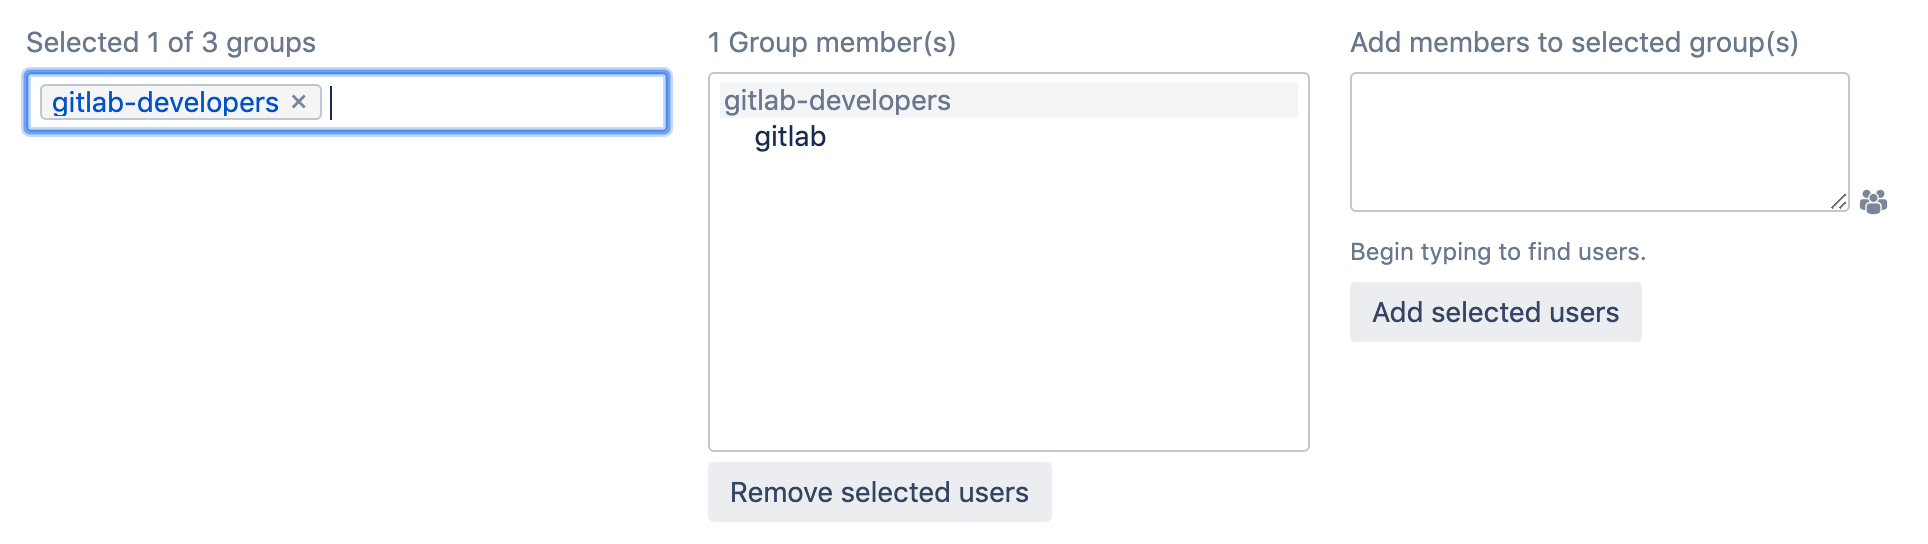
Add the
gitlabuser to thegitlab-developersgroup by clicking Edit members. Thegitlab-developersgroup should be listed in the leftmost box as a selected group. Under Add members to selected group(s), entergitlab.Click Add selected users and
gitlabshould appear in the Group member(s) box. This membership is saved automatically. -
To give the newly-created group 'write' access, you need to create a Permission Scheme. To do this, click the gear icon and select Issues. Then click Permission Schemes. Click Add Permission Scheme and enter a Name and, optionally, a Description.
-
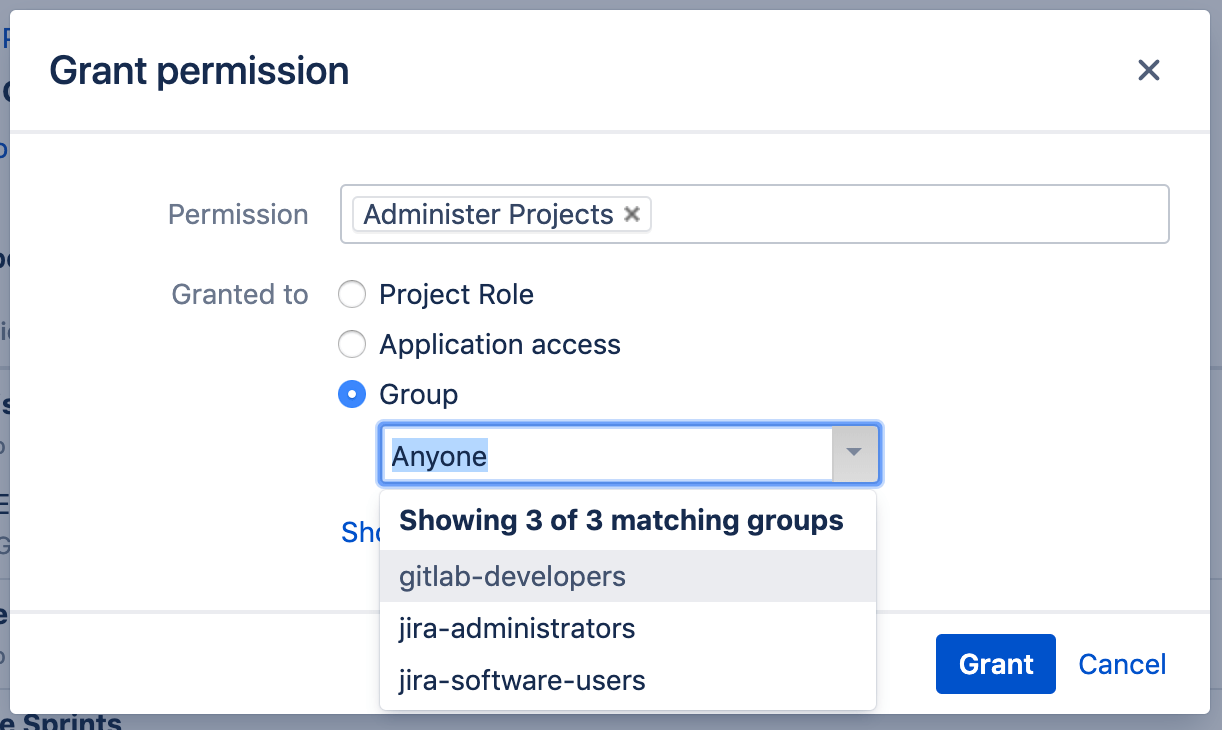
Once your permission scheme is created, you'll be taken back to the permissions scheme list. Locate your new permissions scheme and click Permissions. Next to Administer Projects, click Edit. In the resulting dialog box, select Group and select
gitlab-developersfrom the dropdown.
The Jira configuration is complete. Write down the new Jira username and its password as they will be needed when configuring GitLab in the next section.